
Triple Bunk Bed
July 2019
The kids started getting tight in their crib/toddler beds so a change was on the horizon. As soon as I finished the retaining wall and valve table I started thinking about what I was going to do.
It really makes sense for them to stay in that same room at least for now and we like having our "garage" room available for guests. So, since the kids room is rather small and we wanted them to stay in there still there really isn't any other option to fit 3 twin mattresses in there except as a triple bunk bed.
Obviously no one makes a triple bunk bed that fits that room as well as one that I might build. I didn't want this to turn into a big project though, I set my goal on "Stuff Done Quickly" instead of "Stuff Done Right", after all this wouldn't be an heirloom piece that I will live with forever. We will probably only use it for 5years or so at the most.
I wanted to do it quick but what did I want to do? Steel and wood combined is kind of a staple for me but Elizabeth didn't want any more steel. I thought about doing steel/wood anyway and designing something that I could make into a kit and offer but as I thought about it I determined that it just didn't make sense. Mostly because I am designing something to fit in a very specific space and the solutions to that aren't the best for everyone. The thing to do then was double down on making it quick and trying to keep the project as small as possible. I would also make it entirely out of wood.
So, slap it together as fast as possible out of wood meant I would go with select pine boards and sanded plywood.
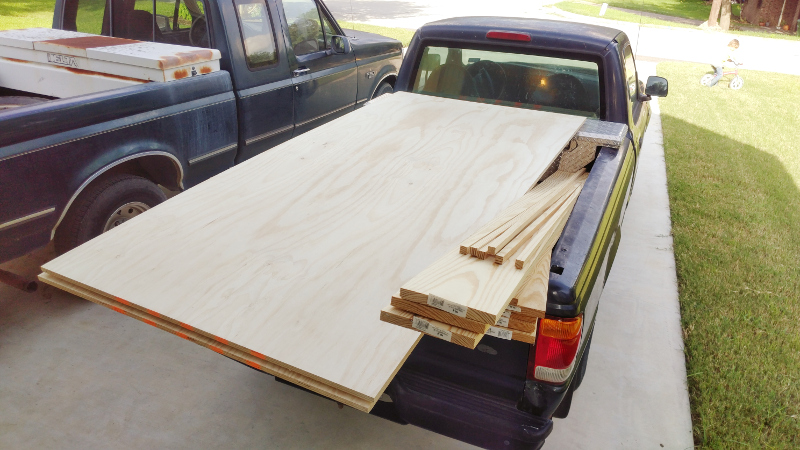
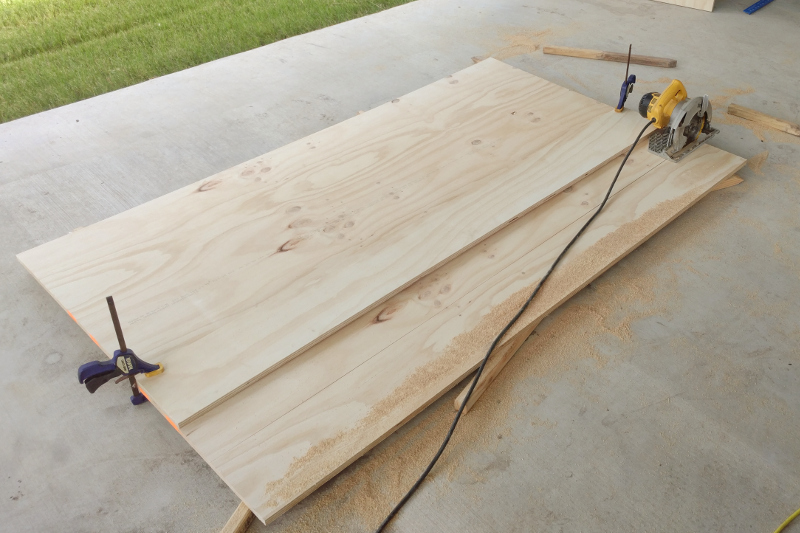
Lowe's in town just started carrying some 23/32" AC sanded pine plywood (no knots on one side, knots on the other) so I just cut three of them down to a little over the size of a twin mattress (39x75 + 1inch clearance).
After the plywood I cut up the 1x8 boards and the 1x2 posts/ladder rungs.

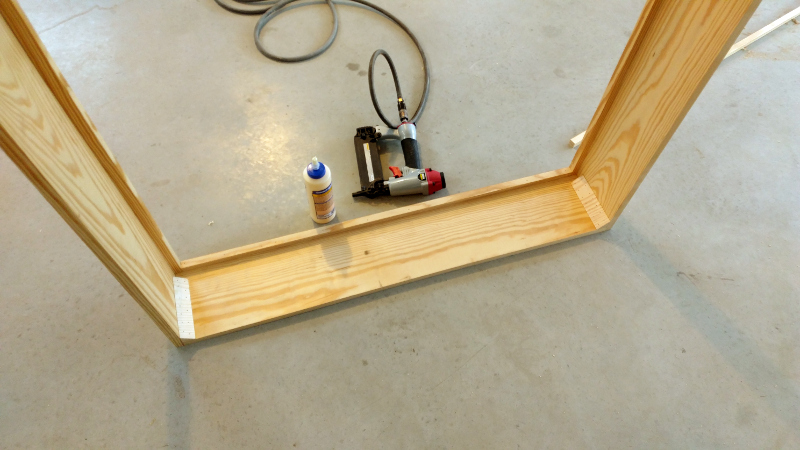
I nailed and glued the 3 1x8 bed frames together. Simple butt joints with a triangle brace in each corner.
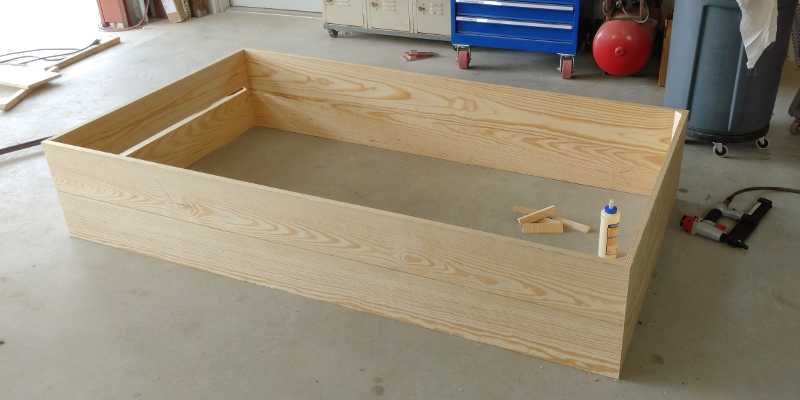
To hold up the plywood I added a 1x1 (actual 3/4x3/4) lip around the bottom of each frame. Glue joints held in place by brad nails and then screwed down also.
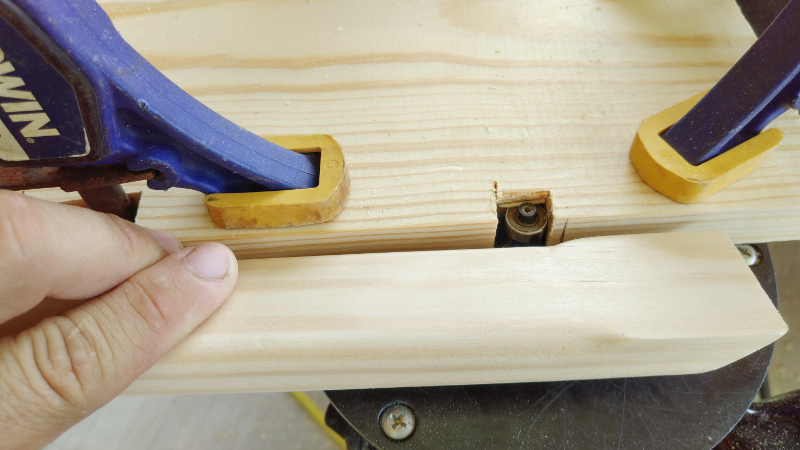
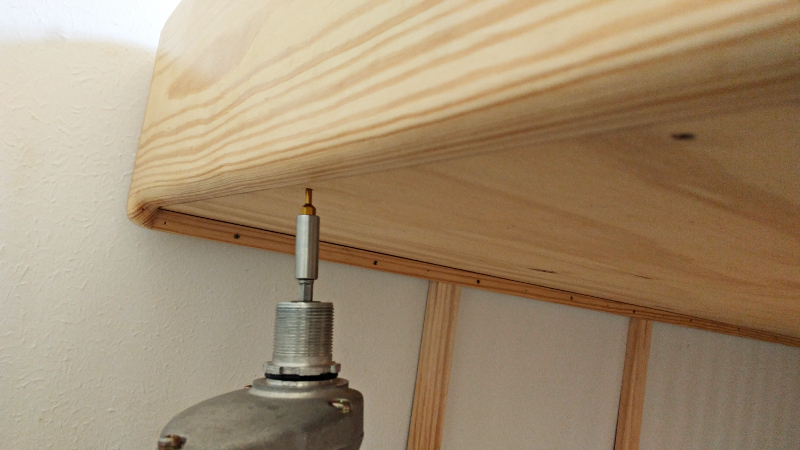
At the foot of the two upper bed frames I got a little fancy to maximize the free space between each bunk. Before nailing the frames together I routed out a notch on the underside of one end. Then instead of running the plywood lip at the bottom so it would be underneath the plywood I spaced it up 23/32 off the bottom so that the plywood would sit underneath the lip and I could screw up to it from the underside.
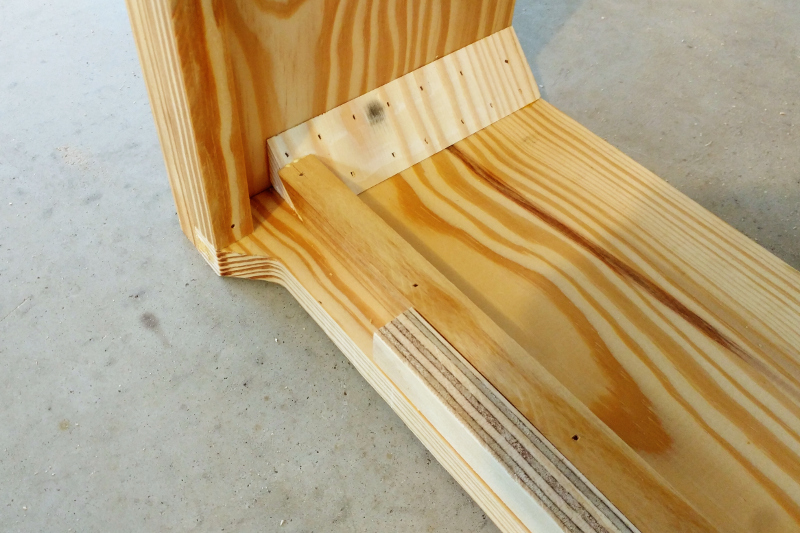
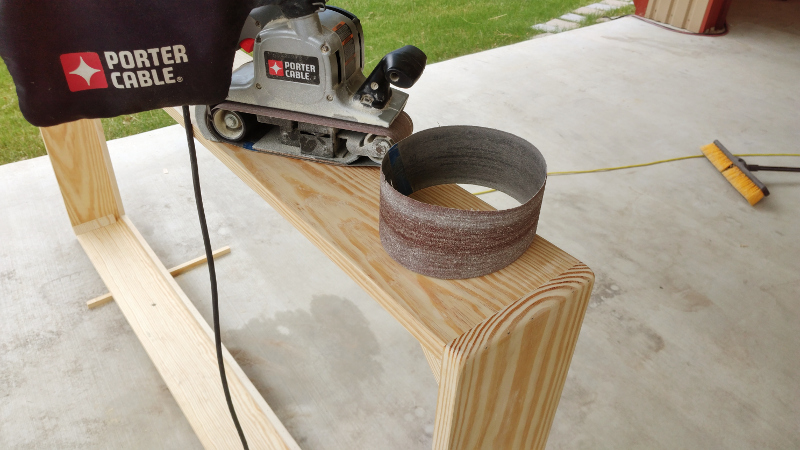
After I nailed the bedframes all together I broke out the belt sander and rounded all of the corners over. I knew that at least one set of them would be exposed in a way that could be bumped into and didn't want any sharp corners. As you would think I hogged everything off with a coarse grit (40 I think) and then stepped up finer and finer with the final pass being 000 steel wool. I didn't sand the entire bed with the belt sander, just the corners. One of the real reasons to buy select lumber is that sanding generally isn't required. They are planned so nice that sanding would just create all kinds of fuzzy raised grain later. I did go over everything with 000 steel wool though to catch any fibers that were sticking up.
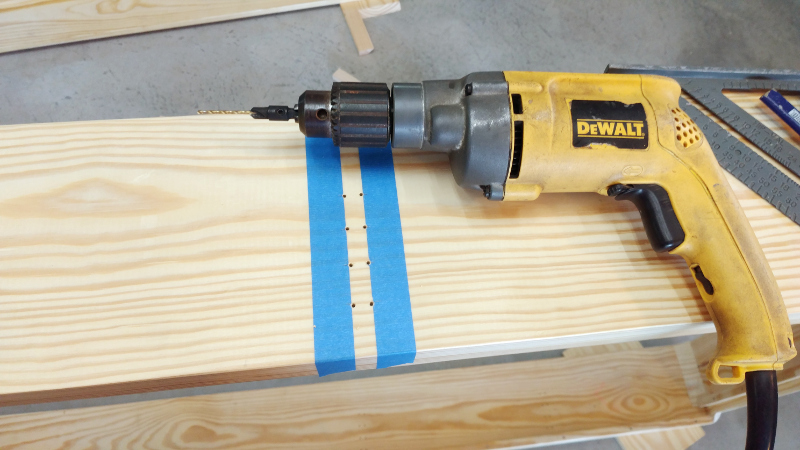
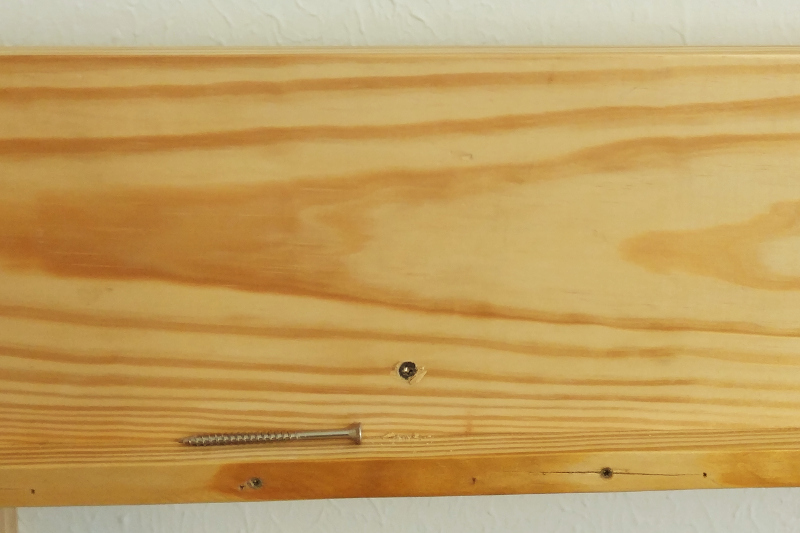
The final step before finishing for the bed frames was to pre-drill all of the holes that would match the upright elements later
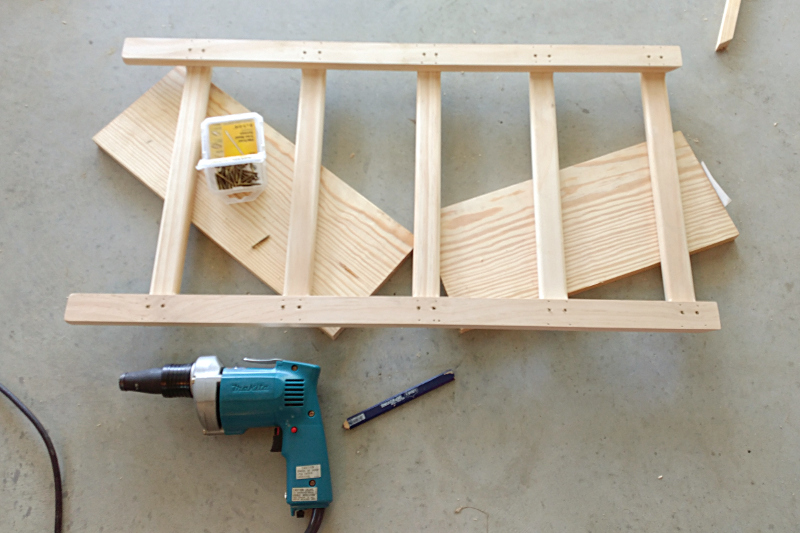
After I sanded the bed frames I shifted over to the uprights and ladders. In the spirit of keeping the project as short as possible I originally intended to just cut all the parts out and slap them together. Elizabeth (rightly) thought I shouldn't leave the ladder rungs with sharp edges so I set about rounding them over.
I don't have a router table but I wanted to use some round-over bits that I have to to the majority of the work on the rungs. I set up an improvised "router table" with a fence set the right depth for my roundover.
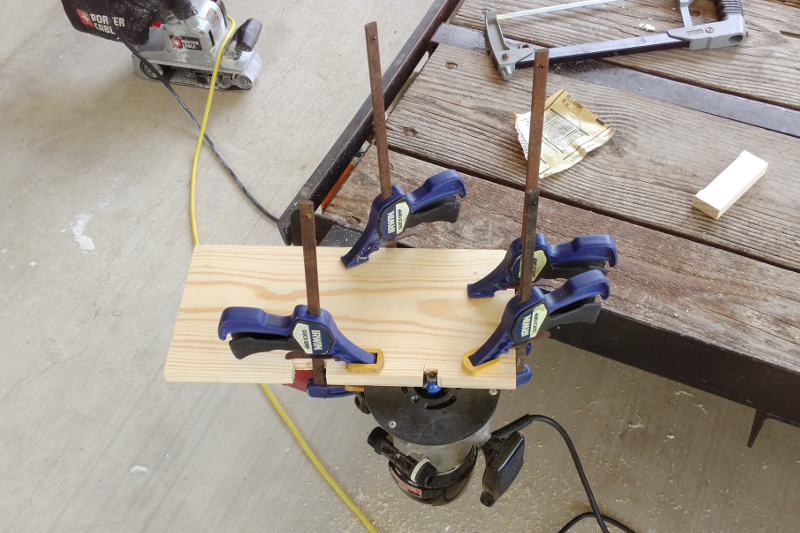
I didn't just round the entire length of each run over though because then I would have had an intersection of a rounded edge secured flat up against a straight section. To overcome this I stopped the round-over 1-1/2" short of the end of each rung on the backside that would be fastened to the uprights.
I glued and nailed the rungs in place, then went back and screwed them in also. Last thing I need is for a rund to come off while someone is climbing up.
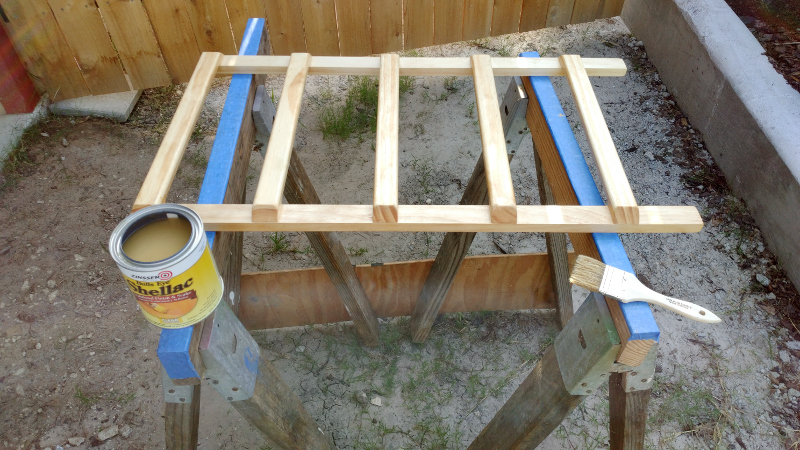
Now, I wanted this project to be as short as possible and first thought about not finishing at all. A very rookie move for something slapped together out of 2x4s but select pine is pretty nice already and I really, really hate finishing. It takes so much time to do right and it is just boring. Since I was already pre-making the ladders and spending more time on the rungs anyway though I decided that I would go ahead and give it a basic finish. Polyurethane is a great durable finish and often my choice for something that will see alot of wear but I decided to use one of my other favorites, shellac. Shellac is definitely not a long lasting finish but it is easy to blend if done in multiple sections, easy to touchup later and most importantly for this project FAST. If dries really fast compared to a urethane and if I ended up cutting some parts the day of final assembly it just wouldn't work at all. So, shellac it was.
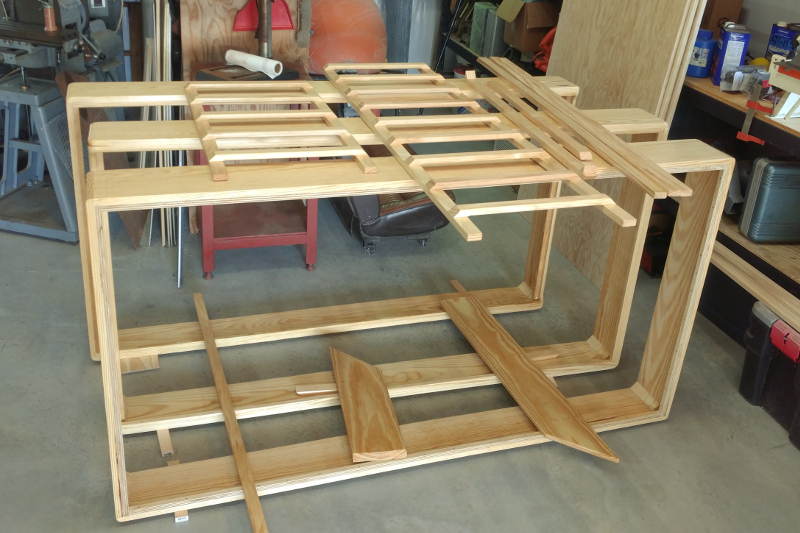
Two weekends and a couple of nights had everything completed. All cutout, pre-drilled and finished with shellac.
First thing in the morning I cleared the kids beds out of their room and got started. First thing was putting the bottom bed in place and then screwing the uprights in so they were square with the bottom frame.
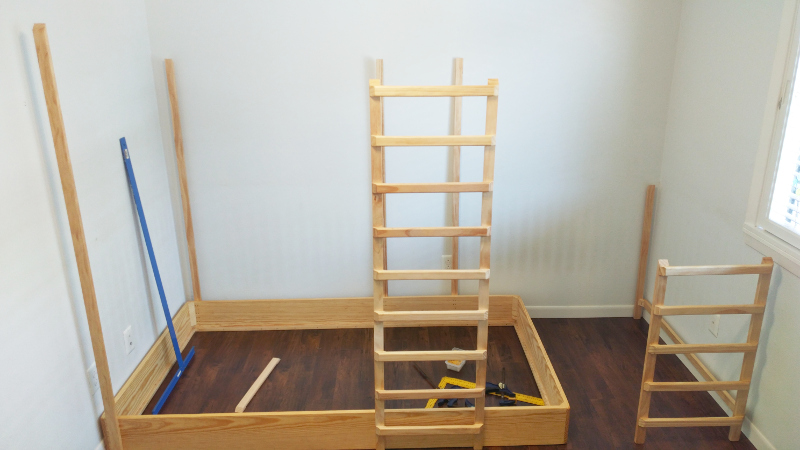
I used 1-1/4 trim head screws with my 1/16" pre-drilled holes. The holes were only drilled on the first board, there was no way I could actually get the matching parts right and predrilled with everything being assembled in a room that I know is not square or level.

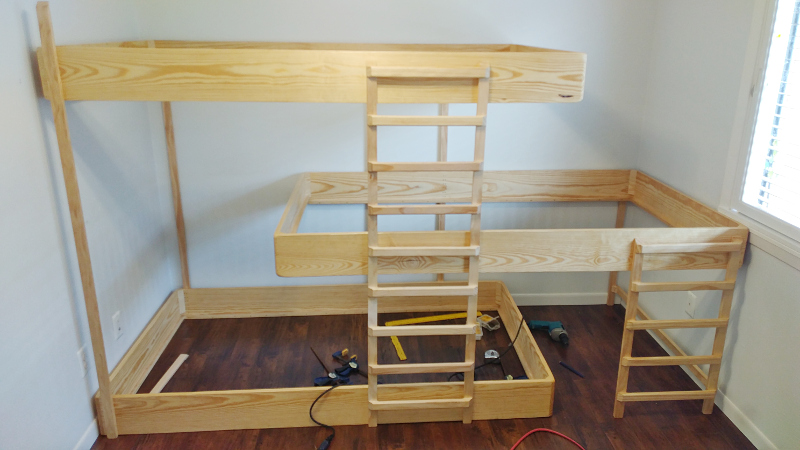
Once the bottom one was in I moved up and got the 2nd bed into position. I used quick clamps to hold everything in place and adjust it all, then I installed a single screw on each part.

After I got the 3rd bed frame up I filled in all of my pre-drilled patterns to lock it all in.
To make the whole thing feel more solid and keep the kids from rocking it around to annoy each other I decided to secure the structure to the wall. I found the studs and then installed 4pcs of 3in long woodscrew. They will leave holes obviously but nothing that will be too big to patch later and definitely less of a problem what will befall that wall at the hands of the kiddos in the time this bunkbed is installed.
After the frame was screwed together and fastened to the wall I installed the plywood mattress supports. I didn't take any pictures but that was definitely awkward, even more than I had anticipated. Anyway, after I got the plywood in place I screwed it in around the edges. If you recall the foot of each bed where I notched the frame required screws from the bottom instead of the top.
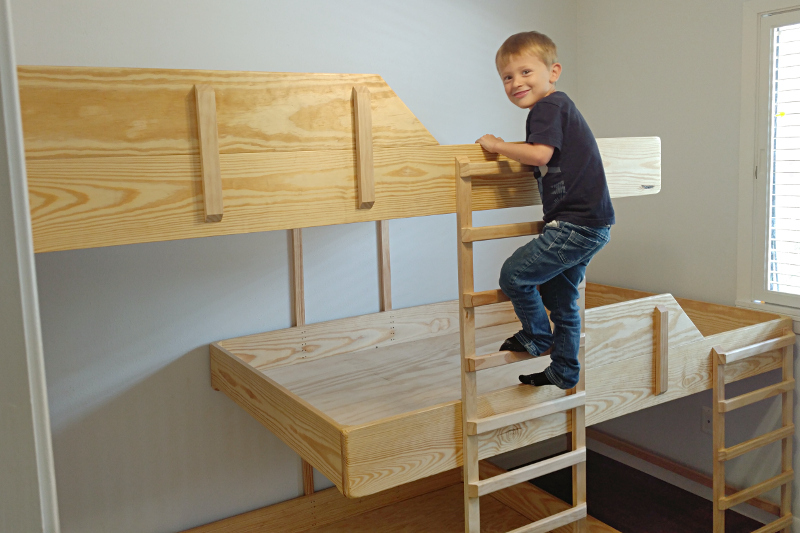
For the last part of the assembly I had a little helper that was very anxious about the process and did not let up with his queries about when he could get on it. So the moment I set the last screw on the plywood he just had to climb on.
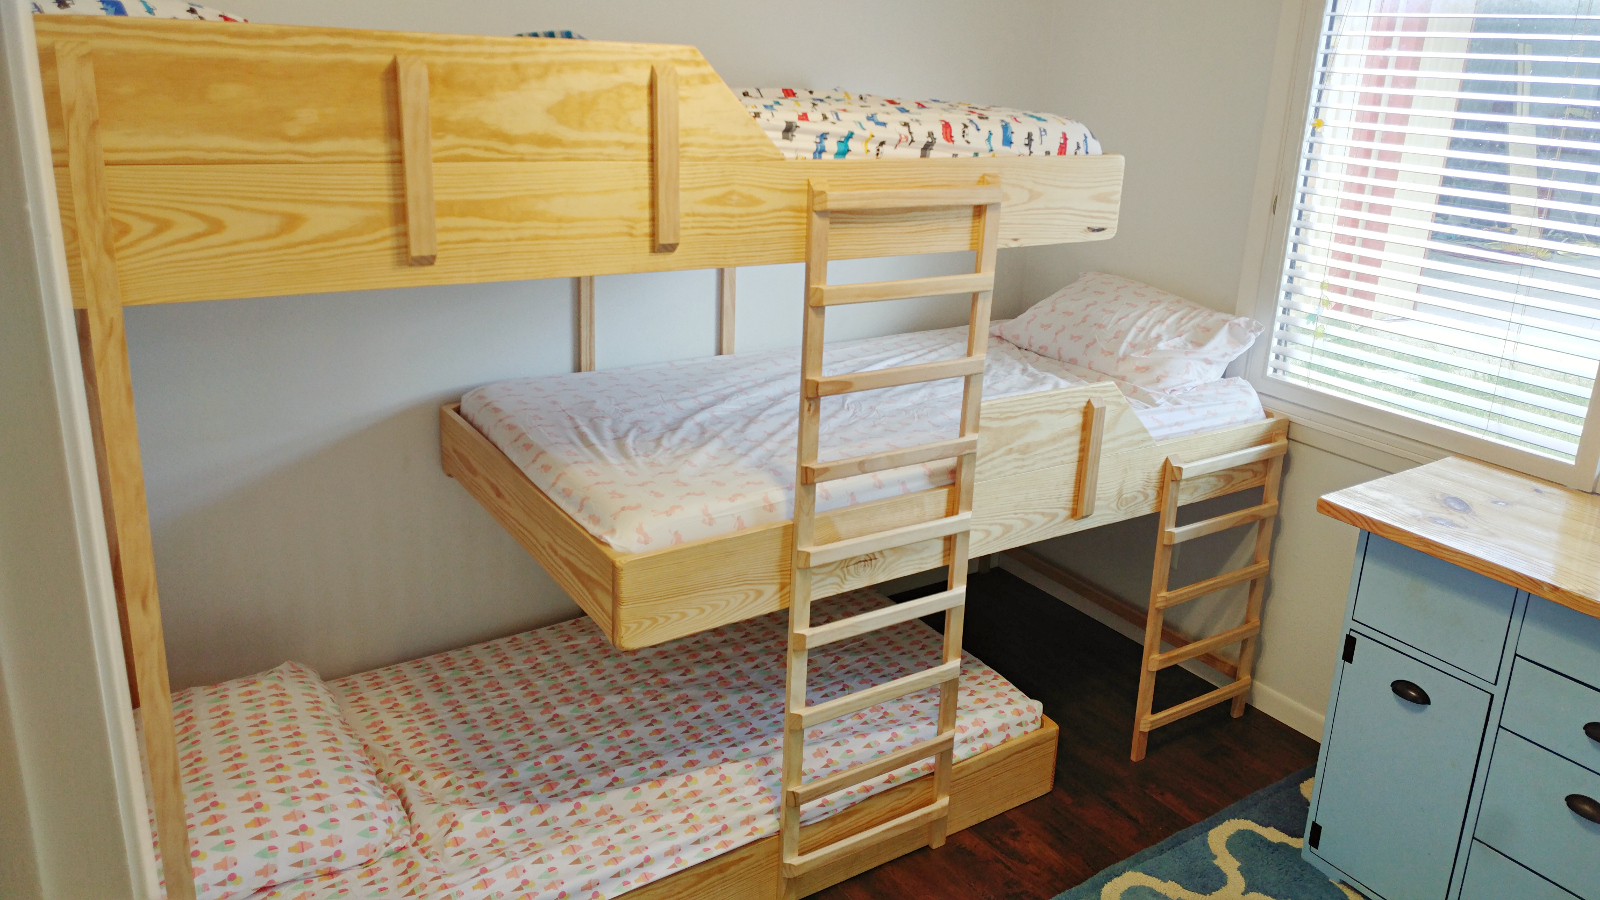
The only thing left was putting the mattresses on. That was even more awkward than the plywood was except for one little fact. I had purchased foam mattresses and as a result they were easy to bend and squeeze into place. If that wasn't the case I would have had to install them during the build, not a great plan!
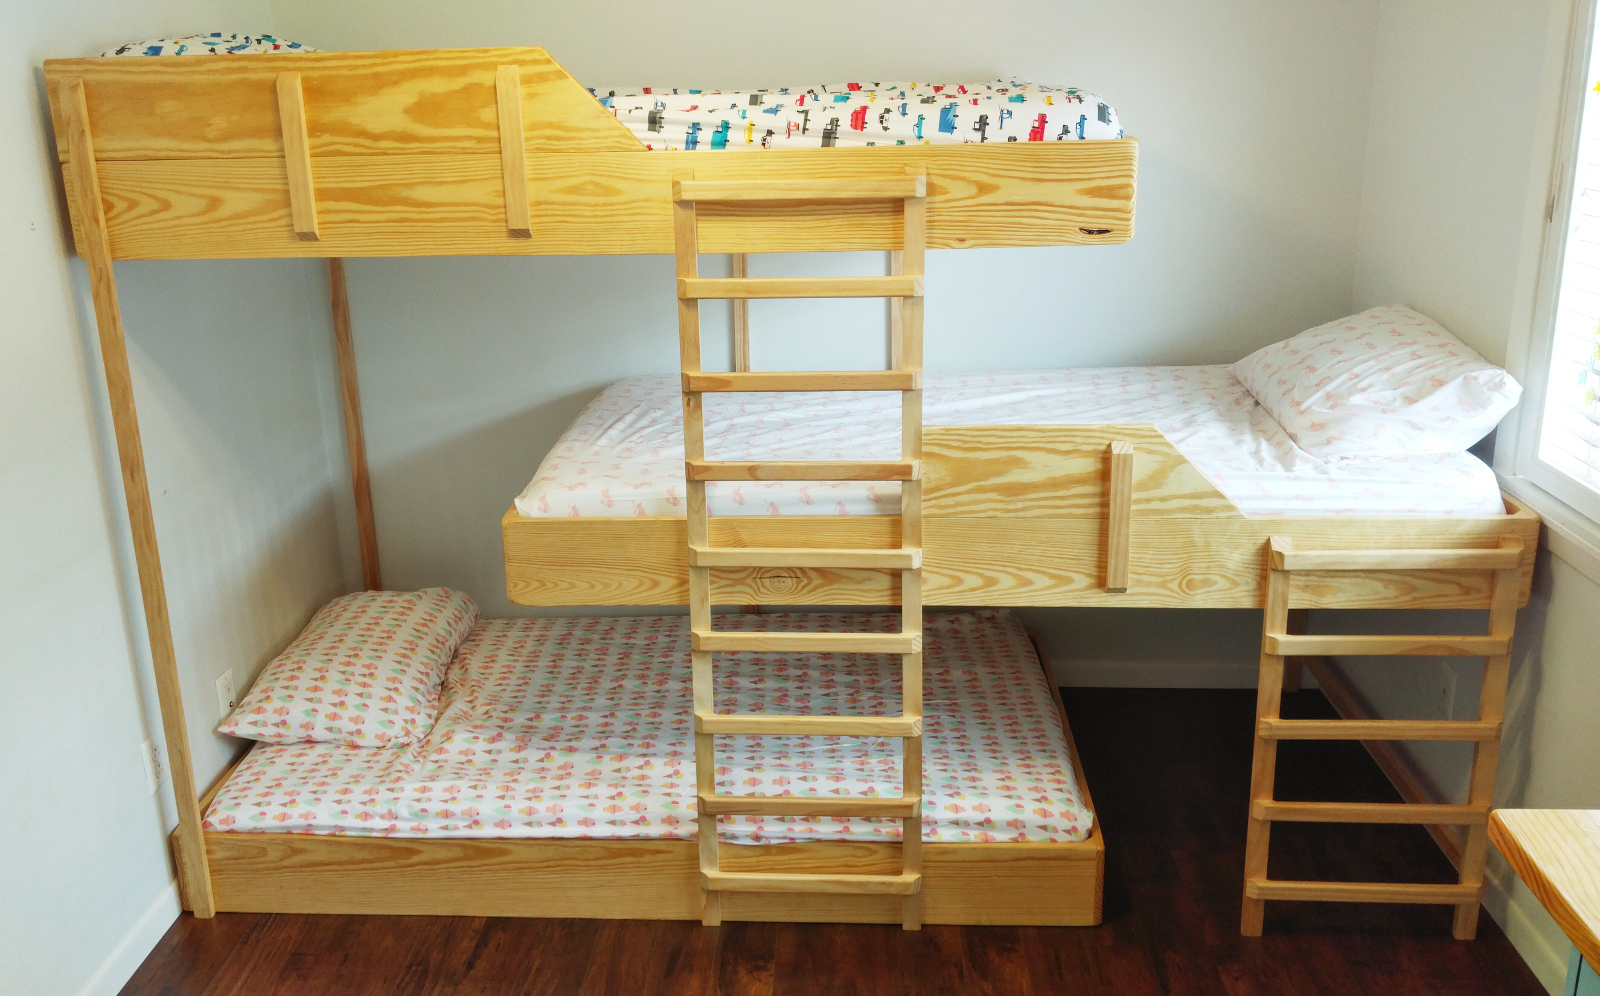
That was it though and the bunkbeds are finished!
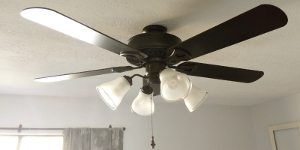
The bunkbeads were finished but there was one more finishing touch. As previously mentioned this is a small room. It is a small room with a tall bunkbed, children and a fan. That is a bad combo and it would only be a matter of time until someone managed to be hit in the head by the fan while climbing on top. To prevent that I disabled the fan by disconnecting the wire for it at the switch.
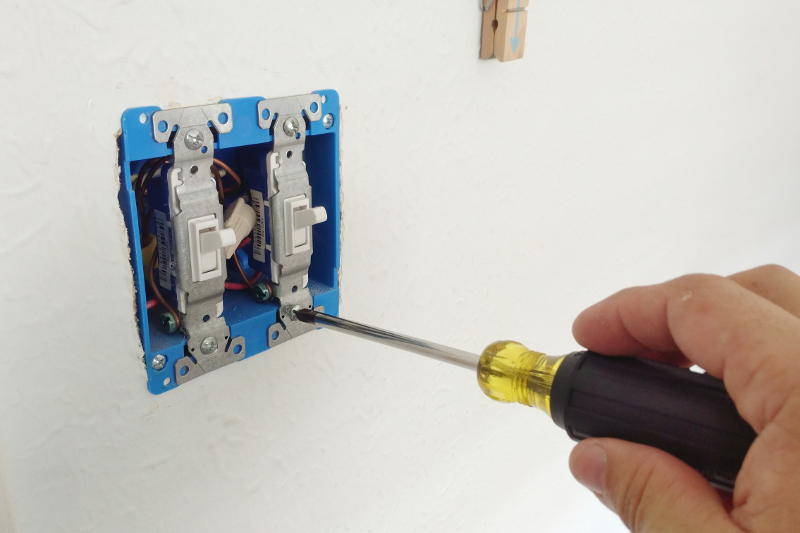
We need to get individual fans for each bed as a replacement but I am sure that will be easy and popular amongst the little ones.